
How to protect Google Chrome with the password
Most among average internet users may not know that Google Chrome has a convenient system for managing user profiles, allowing each user to have their browser history, bookmarks, isolated and other items. One user profile Chrome is already present in the installed, even if you did not enable sync with your Google account.
In this manual, you’ll learn how to set a password request for Chrome user profiles, and you can also manage individual profiles. Although users can use Google Chrome without a Google account but having an account and being logged in are essential steps to perform the following manipulations.
Enable password request for Google Chrome users
The current user profile management system does not allow to set a password for Chrome. However, the browser options contain an option to enable the new profile management system, which in turn will allow performing what we aim to.
The full order of steps to protect the Google Chrome user profile with a password will look like this:
1. Go to your Google Chrome settings.
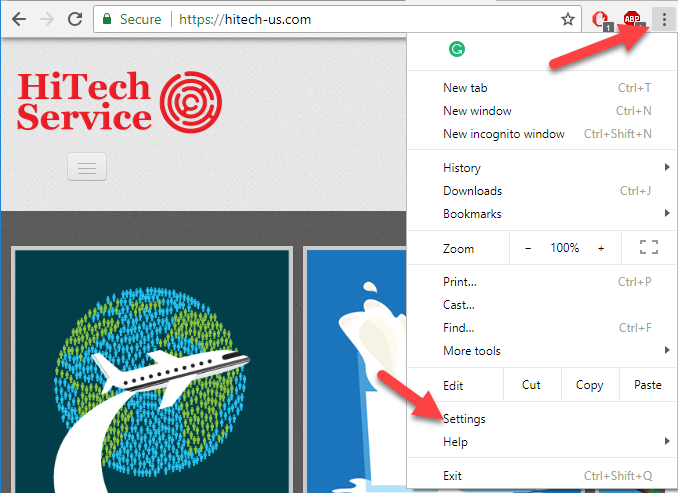
2. In the “People” section, click Manage other people and then Add person.
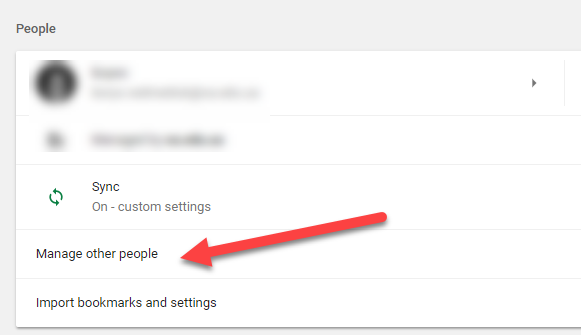
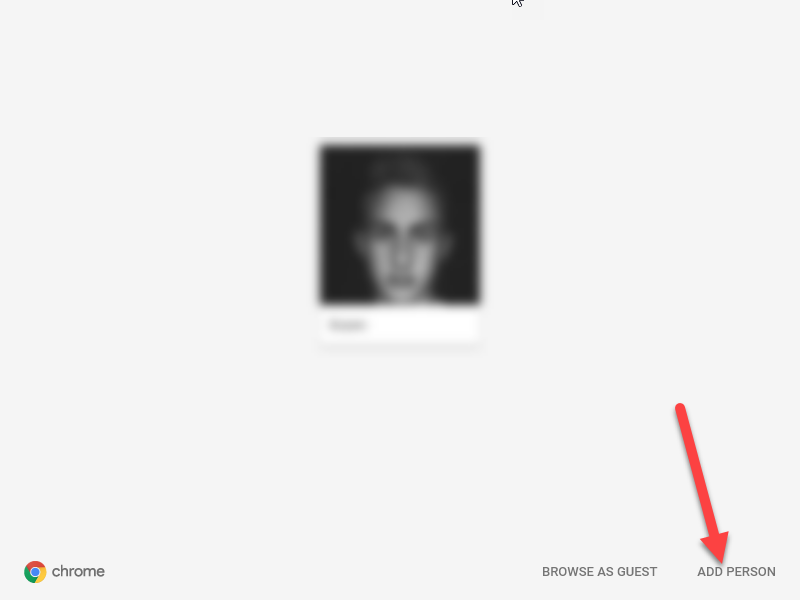
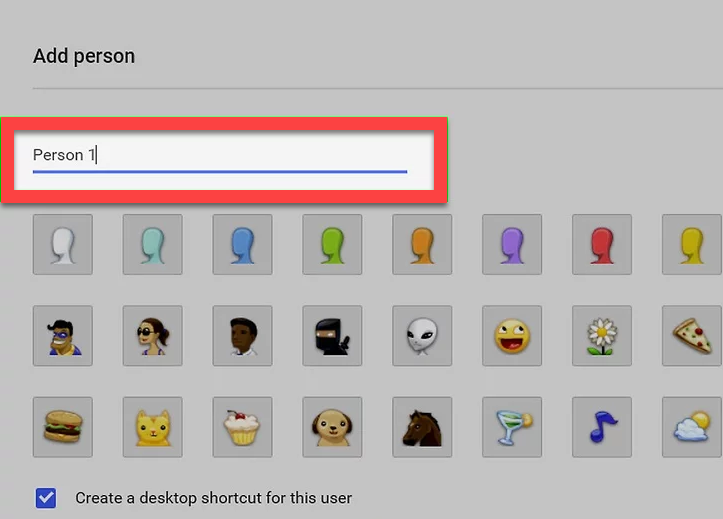
3. Add a new user and choose a name for the person.
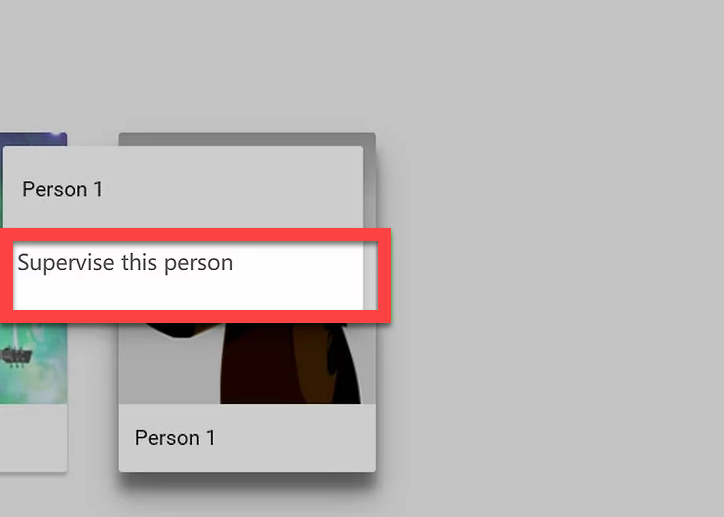
4. Click on ‘Supervise person’ and go through the process of login. *Do not use the account which you logged in previously.
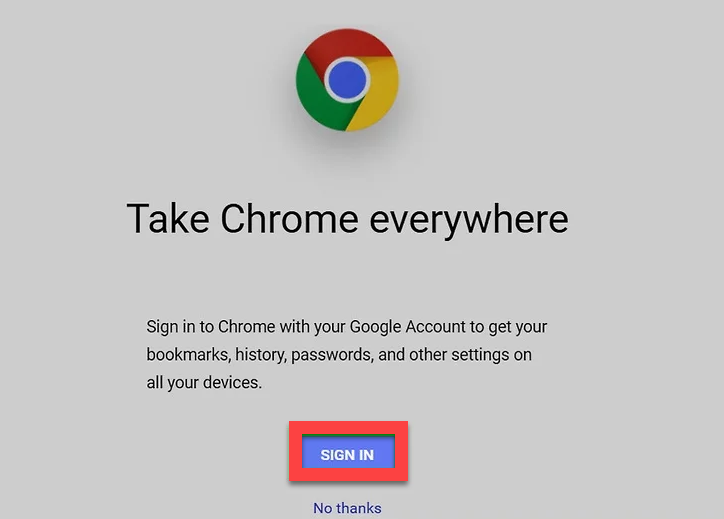
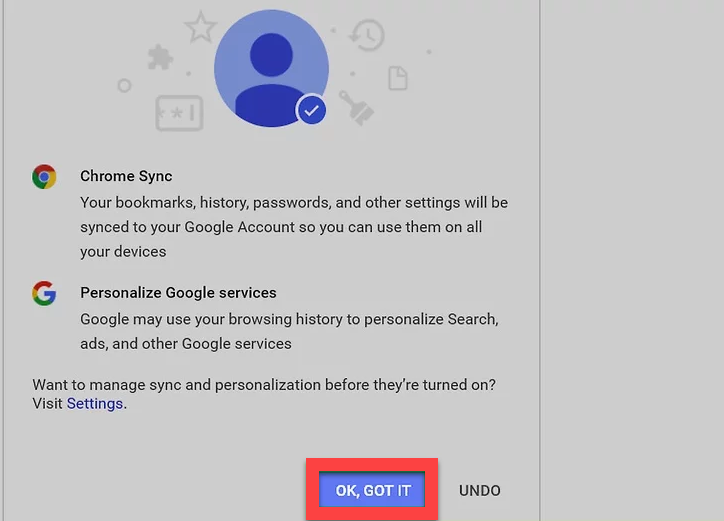
5. Click the ‘OK, I GOT IT’ but do not click ‘SWITCH TO *NAME*’. You do not want to use the supervise account yet.
6. Click on your name again there will appear a drop-down window. There you should click on ‘Exit and child lock’. Such manipulation will close the Google Chrome window.
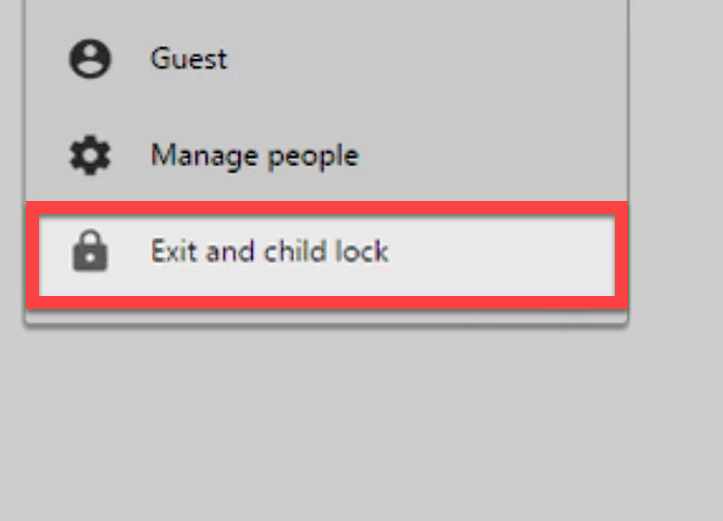
Such manipulation will close the Google Chrome window. The next time you when selecting your account, it will be obliged to enter the password. Thus, your profile with vital information is protected with the password.
Setting a password using an extension
The most inconvenient issue that happens after the previous manipulation is you need to block your account manually every time. If you want Chrome to block up automatically to complete the skin session of the robot, then in future you can extend LockWP. With a customized version, the browser will ask for a password when it is started. Follow the next steps to install and use LockWP in Google Chrome:
● Download and install the LockWP extension.
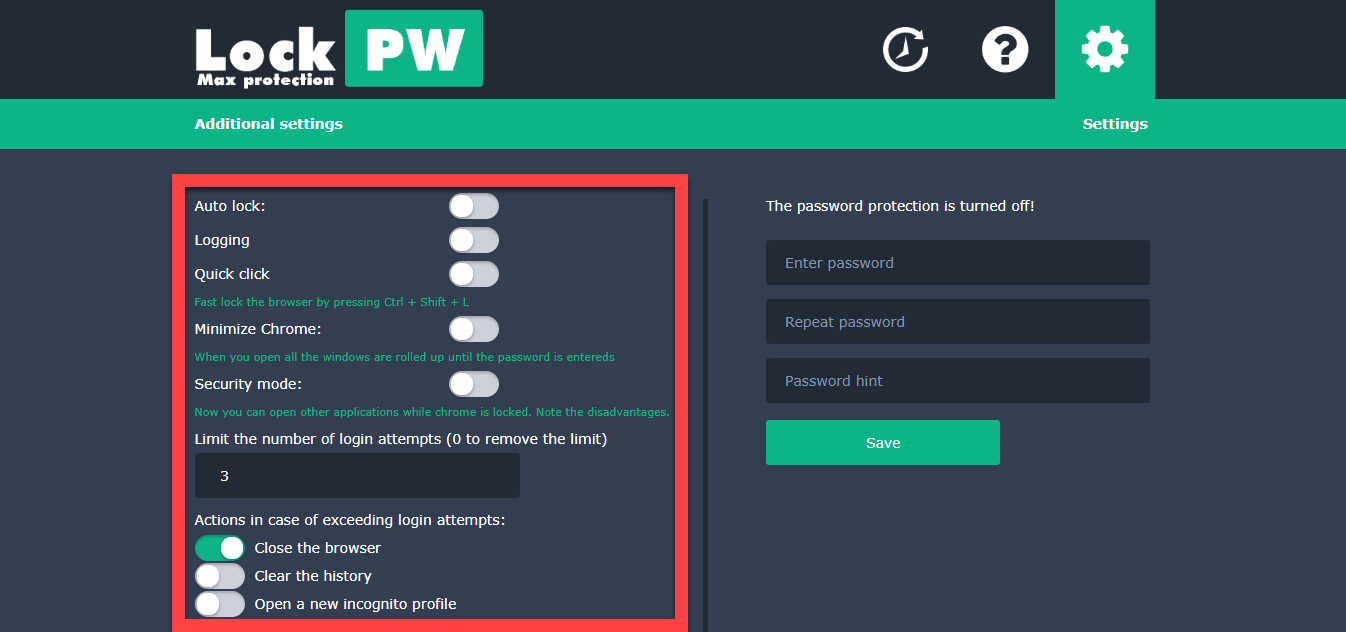
● Window with setting will appear automatically at the end of the installation. If this does not happen, open the settings manually from the browser menu -> Settings -> Security -> LockWP Settings.
● In the extension settings, check the box “Enable incognito mode”.
● Next, a window with instructions will open, allowing you to set a password, enable safe mode, limit the number of login attempts, etc.
- On June 27, 2018
- 0 Comment


