How to create bootable OS X install drive
Hey guys!
We have already discussed how to create installation drives for Windows 7 and Windows 10. Today we’d like to dwell on how to create a bootable OS X installation drive the easy way on your Mac running Mavericks or higher.
The fact is that starting with Mavericks OS X Apple packs a small unix program into os that makes it a breeze to specifically create bootable installer drive. That said i must assure you that this method will work on Lion, Mountain Lion, Mavericks, Yosemite and El Capitan operating systems.
Things you will need:
-
downloaded image of desired OS for mac you wish to install
-
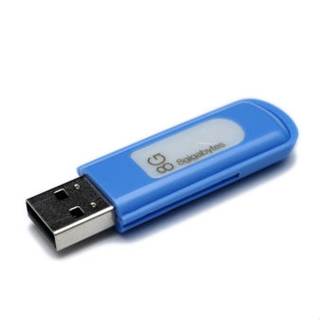
flash drive of 8GB capacity or higher

Steps:
-
Insert your flash drive into Mac
-
Go to Applications -> Utilities -> Disk Utility. Select your flash drive, go to Erase tab, and erase your drive using one of Mac supported formats calling this disk Untitled.
-
Open your downloaded OS X image and copy the actual .app installer into your Applications folder. (Make sure it’s named properly, for ex: Install OS X Yosemite.app)
-
Launch Terminal in Applications -> Utilities -> Terminal
-
Paste this line into terminal and confirm with user password:
sudo /Applications/Install\ OS\ X\ Yosemite.app/Contents/Resources/createinstallmedia –volume /Volumes/Untitled –applicationpath /Applications/Install\ OS\ X\ Yosemite.app –nointeraction -
Click return which will launch the process of making drive bootable and will copy installation files for chosen OS X installer.
-
The Terminal window displays the progress of the process, in a very Terminal sort of way, by displaying a textual representation of a progress bar: Erasing Disk: 0%… 10 percent…20 percent… and so on. The program then tells you it’s copying the installer files, making the disk bootable, and copying boot files. Wait until you see the text Copy Complete. Done., which could take as long as 20 or 30 minutes, depending on how fast your Mac can copy data to your destination drive.
You now have a bootable drive that you can use to install on any MAC through a restore boot.
- On February 24, 2016
- 0 Comment


