How to Hide Recovery Partition in Windows 10
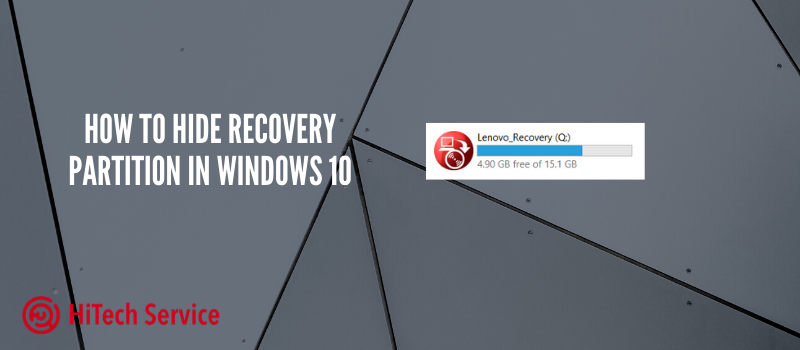
When you get the new laptop or PC, it may contain recovery disk space for the files that your system will need later. Also, this partition may appear after you get your system repaired. Some people do not like when it appears on the menu. We will tell you how to easily hide it.
Why do you need to hide it? As we have said before, you may not like that the Recovery partition appears in the list of all disks since it is devoted only to recovery files. Furthermore, we suggest that you should not use this memory for the installation of any software, games, or just storing files. Thus, it would be better to hide it so you do not touch it by mistake.
How to remove the “Recovery” disk using Command Prompt (hiding the system recovery partition)
- Go to “Disk Management”, for this, press the Win + R keys on the keyboard and enter diskmgmt.msc
- In the Disk Management window, look at which disk has a recovery partition, we need the disk number (for example, Disk 0). The letter of the recovery partition in disk management is not always displayed, but it can be determined by the size and the inscription “Recovery partition”.
- Run the command line as administrator. In Windows 10, you can type “cmd” in the search taskbar, then right-click on the result and select “Run as administrator”.
- At a command prompt, type the commands in the following order, pressing Enter after each:
- diskpart
- select disk N (replace N with the disk number from step 2)
- list partition (the list of partitions on the disk is displayed, we need the number of the Recovery partition, then M).
- select partition M (M – your letter you chose before)
- remove letter= M (M – the letter you chose before).
At this point, the procedure will be completed and the recovery section will be successfully hidden.
NOTE: If the recovery section appeared in File Explorer after transferring Windows 10 to another disk or several of them appeared, then you may also see a section on the disk, which is no longer one of the system ones and is not needed. If you wish, you can delete it, provided that you know what you are doing.
How to hide Recovery partition using the Disk Management utility
Another way is to use the “Disk Management” utility built into Windows, but it does not always work in certain situations:
- Press Win + R, type diskmgmt.msc and press Enter.
- Right-click on the recovery section and select “Change drive letters or path” from the menu.
- Select a drive letter and click “Delete”, then – OK and confirm the removal of the drive letter.
Conclusion
Here is the short and useful instruction on how to hide the Recovery partition from the Disk Explorer. The procedure takes 5 minutes but saves you from possible corruption of the disk due to viruses or any other issues. Or you just do not like that this disk is available and you cannot use it.
- On July 13, 2020
- 0 Comment


